A Tutorial - Simple Round Ornament
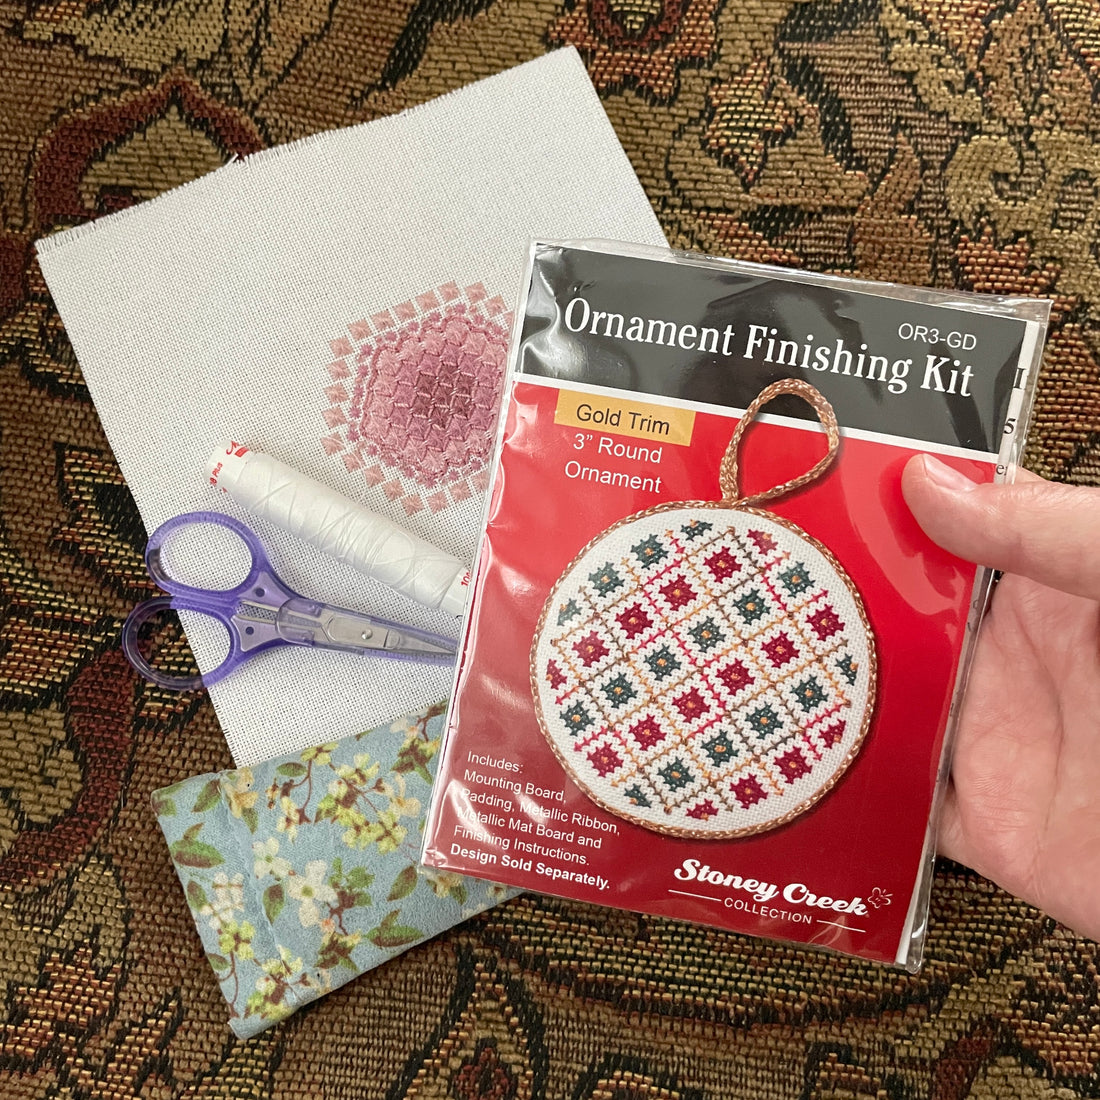
I found this nice little Ornament Finishing Kit by Stoney Creek at my LNS a few weeks ago and I knew immediately that Rosy Rhodes would be the perfect design to make into an ornament using this kit!

My finished design is about 2" x 2 1/4" in size and fits perfectly with the 3" round ornament kit. I purchased my kit from Embroidery Marketplace Calgary which is my local store in Calgary, Alberta, Canada. I've checked the web and have found it in some online stores in the USA as well. It's reasonably priced and the instructions were easy to follow. Most importantly, the finished ornament is quite nice!

If you aren't familiar with Rosy Rhodes, it is one of Freda's free designs. It's a great little design which can be stitched on linen, congress cloth or monocanvas. It's charted using a lovely pink colour way - all you need to do is adjust your thread selection.
You can download it HERE!
Step 1: Cut out the circle pattern from the paper. Place it onto your fabric making sure that the stitched design is centered in the circle. Draw a line around the circle with a pen or fine tipped marker on the fabric. TIP: To find help find the center, I folded the paper over twice to get the center point - it was easy then to match it to the center of the design.


Step 2: Trim the fabric to the line on the fabric. Cut the felt piece included in the kit to the size of the wooden circle (also included in the kit). Glue it to the wood circle (use some Aileen's Tacky Glue or Spray). Let dry.

Step 3: Thread up a needle and a nice long piece of polyester thread that matches the fabric (I used a doubled length of thread). Using a running stitch, stitch around the outside of the fabric - around 1/4" away from the edge.

Step 4: When you have finished adding the running stitch, place the wooden circle and place it on the wrong side of the design. Start to pull the two ends of the threads, gathering the fabric around the wooden circle. As you tighten the fabric, adjust it so that the design is centered on the circle. Tie off the ends of the thread and trim.

Step 5: Spread some Aileen's Tacky glue on the back side of the ornament. Make sure you spread the glue as close to the edge (on both wood and fabric) of the ornament as possible. Place the gold cardboard circle on the back - make sure that the edges are even with the wood circle. Put some heavy objects (ie books - on top of the ornament till it is dry.


Step 6: Add the gold ribbon (included in the kit) to the edge. I finished this part a little differently than the instructions in the kit. Find the center of the ribbon and the center bottom of the design. Add some glue around the edge and then gently place the ribbon around the edge. Keep going on each side till the ribbon meets at the top. Let dry.

Step 7: Tie a square knot at the top of the ornament. Make sure that the ribbon lies as nicely as possible.

Step 8: With the two loose ends of ribbon, measure up about 2 1/2" and then make another knot. Trim the excess ribbon. Add a little clear nail polish or Fray Chek to the ends of the ribbon. Let dry. You are done!


