Pillow Ornament (Door-nament) Tutorial
I just love all of Freda's little Christmas trees! I've just finished stitching Christmas Candles and as I was looking for a frame I realized that the finished size is just a bit small for the standard 4" x 6" frame (or matt) and just a little big for a 3 1/2" x 5" frame (or matt).
So I had to make a choice - I could either put the little piece back in stretcher bars and expand the background OR I could do something a little different.
It's been a long while since I've done any soft finishing and the thought of turning this sweet little tree into a pillow ornament suddenly seemed to be just the thing to do!
I would like to share with you a short, picture based tutorial on how to make your own little pillow ornament - or "door-nament" (I like to hang some of the larger ornaments I make on door knobs).
Let's get started...
Pillow Ornament (Door-nament) Tutorial
Step 1: Trim the canvas to 1/2" around the finished stitched edge, cut a backing piece of fabric and a piece of iron on interfacing the same size as the canvas.
Iron on the interfacing to the fabric piece you have selected for the back of the pillow.


Step 2: Place the two pieces together with right sides facing together. Use clips or pins to hold the two pieces in place (I prefer clips pins are difficult to insert into the canvas due to the stiffness).
Mark an opening on the bottom of the pillow (I left about 2" on the bottom).
Start sewing on one side of the bottom - make sure your seam is just on the inside of the stitching. Sew around the pillow, pivoting on the corners. Make sure you leave the opening. Back stitch at each edge to secure the stitches.


Step 3: Re-trim the edges down to just over 1/4" and mitre the corners.
Press the canvas edge to the inside of the piece right against the seam.


Step 4: It's much easier to turn the project inside out when the canvas is more pliable. Hold your iron an inch away from the canvas back and pump a couple of bursts of steam towards the canvas (do not press the iron on the canvas) till the canvas is warm.
Working quickly, using your fingers, turn the pillow right side out. It will look terribly wrinkled, but that's ok. Using a blunt tool (I like chopsticks), push out the corners.


Once you have the corners as square as possible, lightly press the piece (from the back). Make sure you use a felt ironing mat (or other very soft surface) so that you don't crush any stitches or beads. Make sure the raw edges on the opening on the bottom are tucked in and pressed as straight as possible.

Step 5: Fill the ornament - there are lots of options... crushed walnut shells, poly-pellets, polyfill, etc. I had just the right amount of poly-pellets for this pillow so I decided to use those (I do find they are a bit big and don't fill the corners as nicely as walnut shells, but they are a good choice if you want to use an allergen free product).


You will need to decide how fat you would like your pillow to be. I like to make them quite chubby, so I filled the pillow very full. When you have filled the pillow use a couple of clips to close the opening.


Step 6: Thread up an embroidery needle with coordinating thread (I used red) and sew the bottom using a blind stitch or whip stitch. Keep your stitches small. (they will be covered up later).


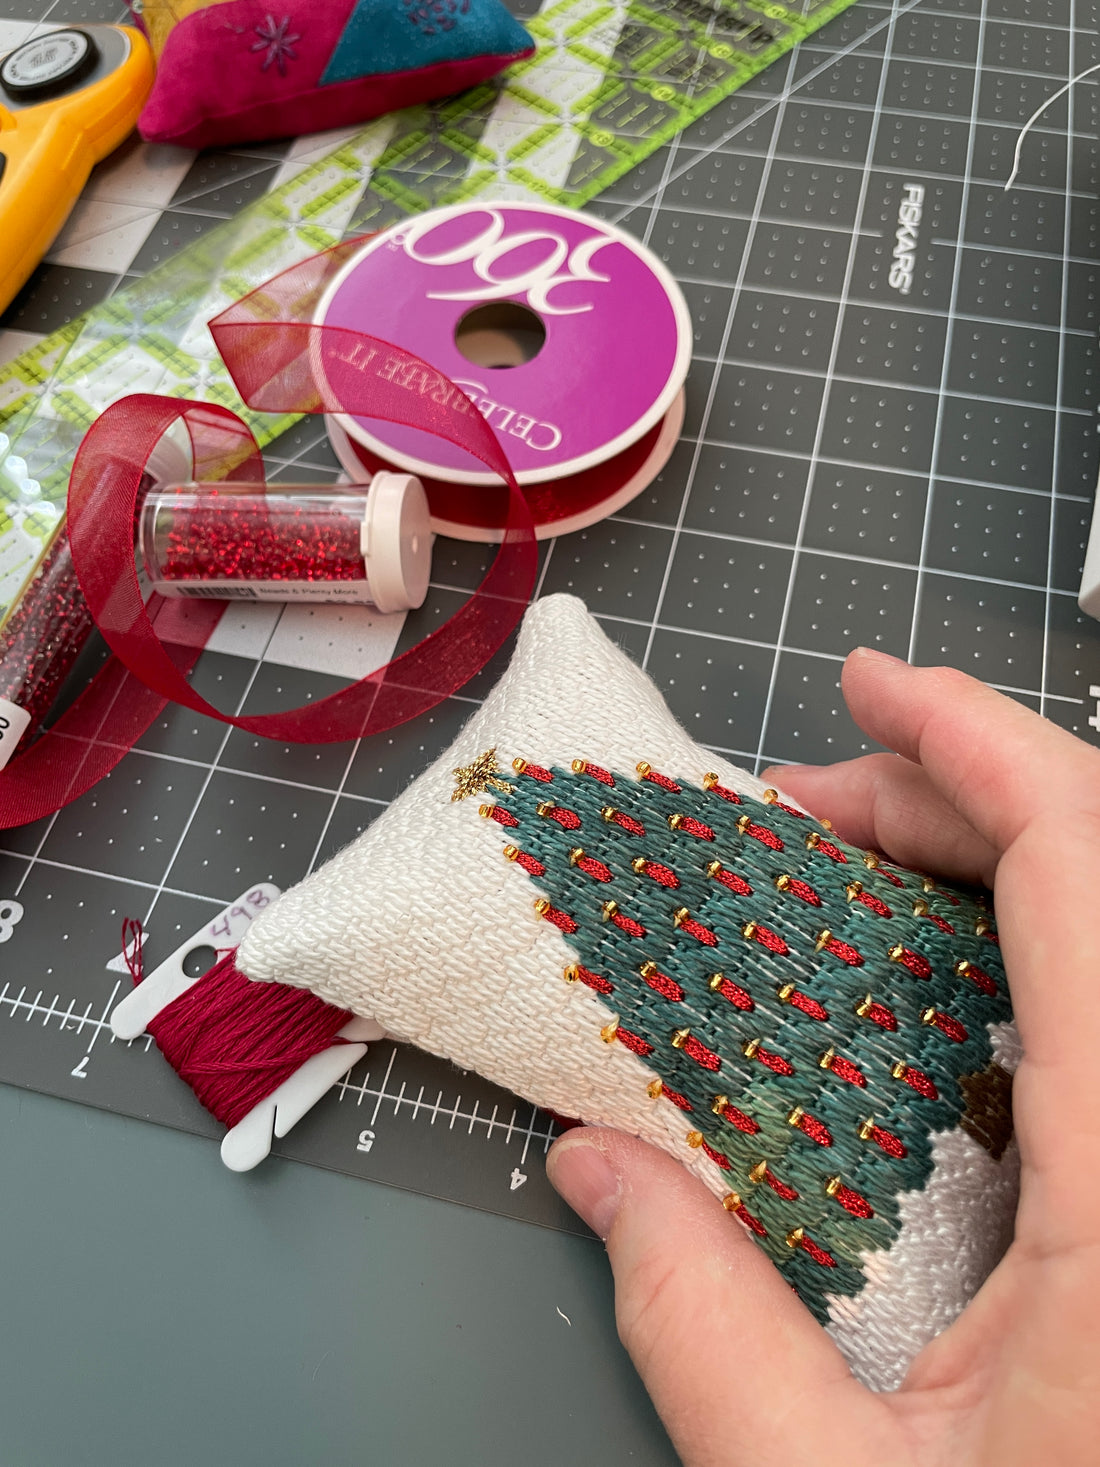
Step 7: We are going to add a beaded edge to the little pillow ornament. Find some nice beads that match your project. I used a size 10/0 seed bead in light red.
Also find some ribbon that can be used for the hanger.


Step 8: Thread up a beading needle (or embroidery needle that the beads will slide over) and start on the long side of the pillow. Make sure your needle is started very close to the sewn edge (about 1/16" or less away).
Place 5 beads on the needle and lay them across the seam at an angle and make a stitch (the length should be the same as the length of the beads).
For the second stitch, move ahead about half the length of the first stitch. Pick up 5 beads and bring the needle down ahead the length of the stitches.
This is basically a stem stitch with beads attached. Repeat all the way around the pillow edge.
Continue working around the edge till you have added beads all around.


The edging is now complete - you can choose to call this little pillow done and place it into a decorative bowl with your other holiday pin pillows, or you can proceed to the next step which is to add a ribbon hanger.

Step 9: Cut a piece of ribbon around 18" in length. Using a very large chenille needle thread one end of the ribbon into the needle.
Turn the pillow onto the back and insert the needle in the top corner at an angle. Push the needle with the ribbon through the fabric. This will be very difficult. Wiggle the needle till the ribbon pulls through. As you manipulate the needle, be gentle around the beaded edge.
Do the same on the other top corner.


Step 10: Tie a knot in the ends of the ribbon and trim. Add a little fray check to the ends of the ribbon to keep from fraying,
You will now have a ribbon loop at the top of your pillow. Find the middle of the ribbon and cut it.
Determine how long you want your loop (I like mine so it fits over a door or closet knob - about 4"- 5" from the top of the pillow). Tie a square knot (right over left, left over right) and then tie a little bow. Trim the ends and dab some Fray Check.


And Voila! the little pillow ornament is finished, looking gorgeous and ready to place on your Christmas tree or door knob!
